Ghost has a powerful visual editor with familiar formatting options, as well as the ability to seamlessly add dynamic content.
Under the hood, the editor delivers power and flexibility, with the ability to quickly add content such as images, galleries, videos, embeds, and code!
Rich editing at your fingertips
Using the contextual toolbar allows you to efficiently format your text, add links and insert rich media.
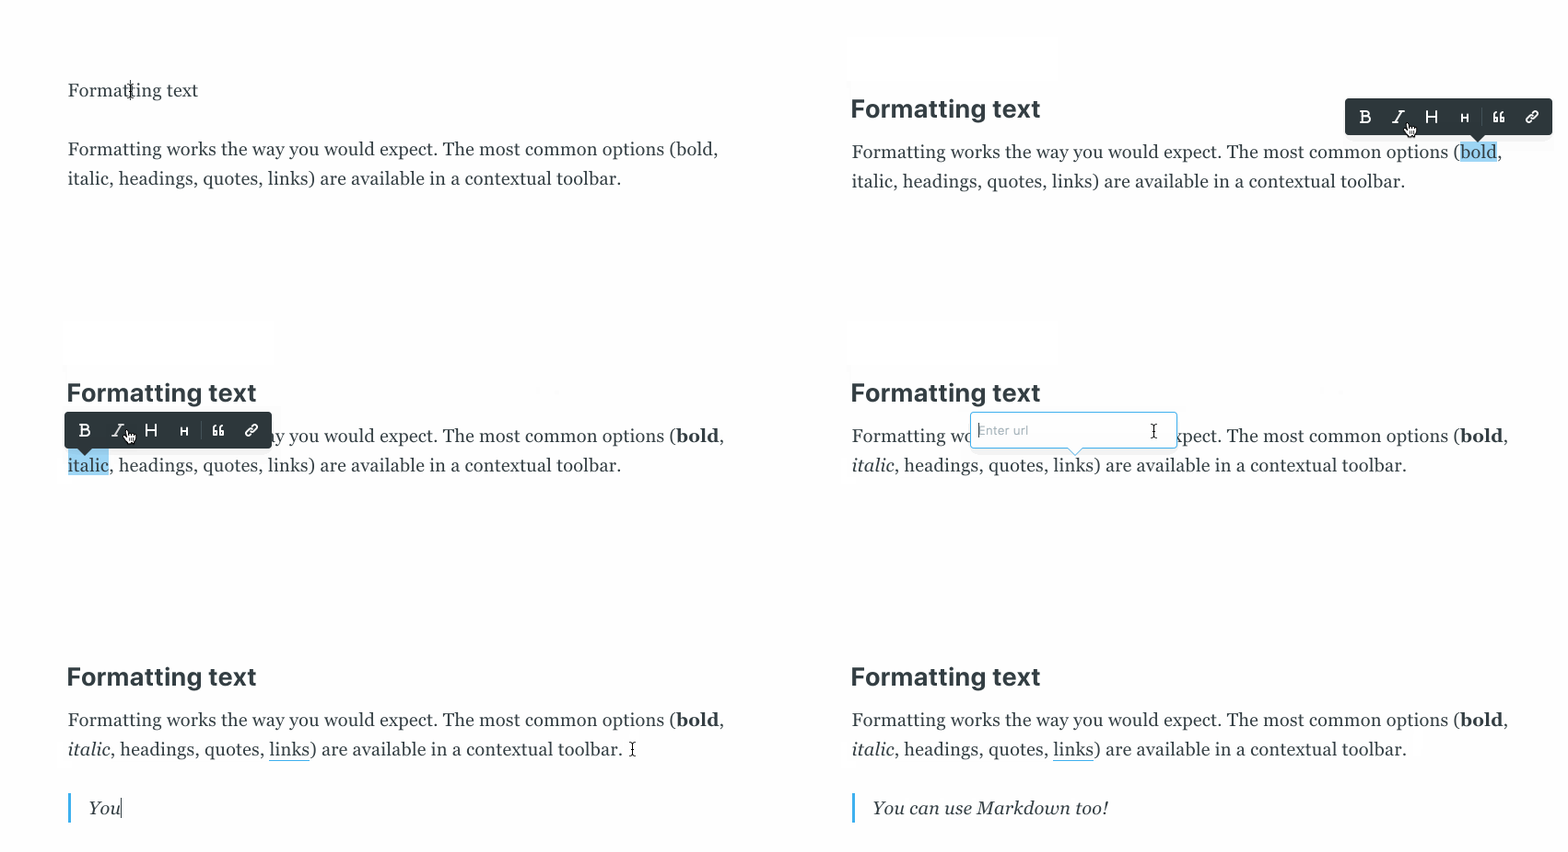
Using the dynamic menu
You can insert a card either by clicking the + button, or typing / on a new line to search for a particular card. This allows you to insert images, markdown, HTML, galleries, email-only content, and embeds.
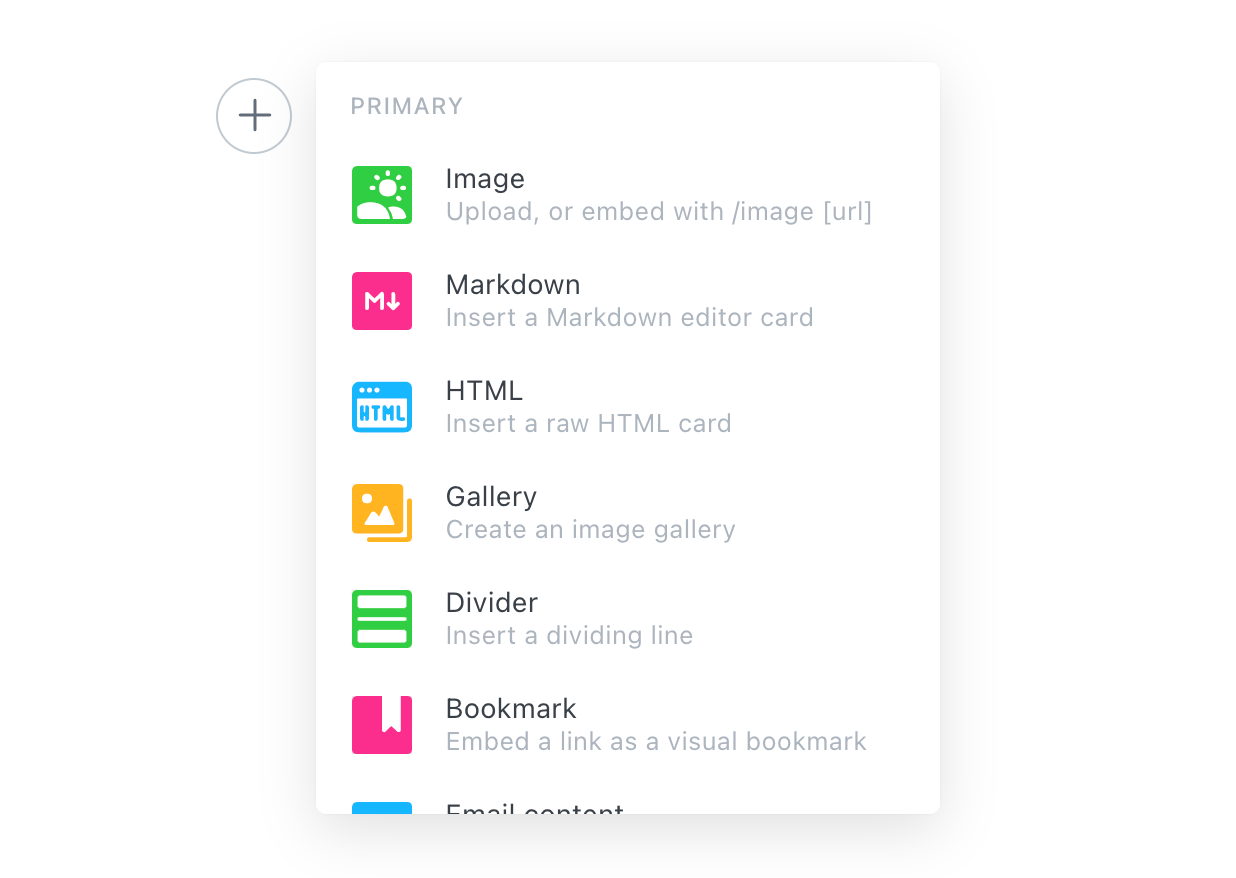
For example:
- Insert a video from YouTube directly into your content by pasting the URL
- Create unique content like a button or content opt-in using the HTML card
- Need to share some code? Embed code blocks directly
- Can't find a good image? Use the Unsplash integration.
- Include a personalized introduction that only appears in your email newsletter
Bookmark cards
The bookmark card is useful when you want to share a link to a site that doesn't have a direct embed integration with Ghost (like YouTube) - but still want the content to display a reader-friendly card design.
Achieve this by pasting any URL into the editor, or using the Bookmark card from the dynamic menu. If the site you're referencing has enough metadata, the editor will do the rest for you!
Code cards
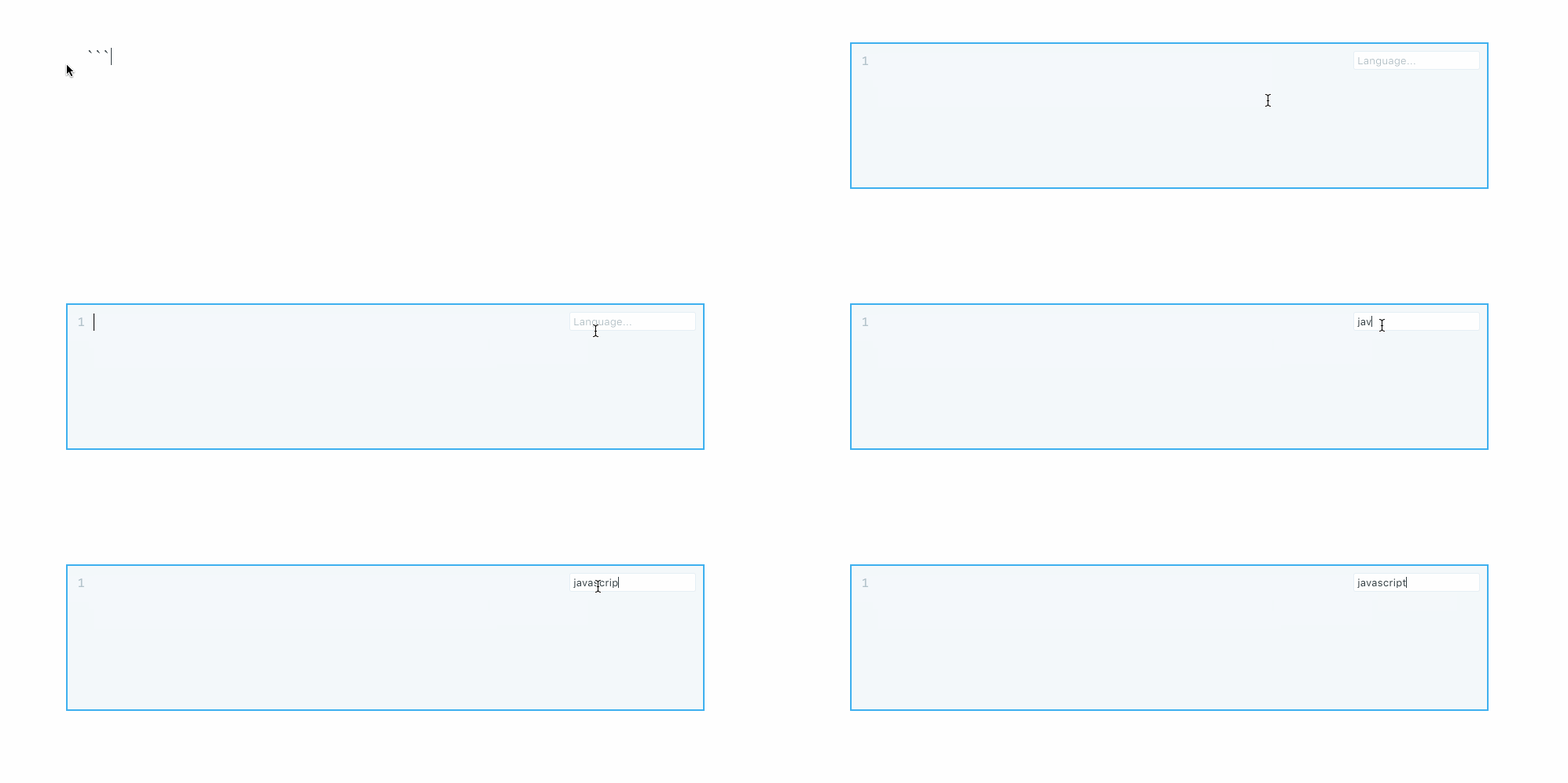
If you'd like to share some code in your content, type ``` onto a new line and get started with your code snippet. This also supports language selection and captions.
Email cards
Email cards allow you to personalize your email newsletters with specific content that doesn't appear in the published post. By default, email cards are pre-filled with an optional greeting, which references the member's name using the first_name dynamic placeholder.

Email call to action cards
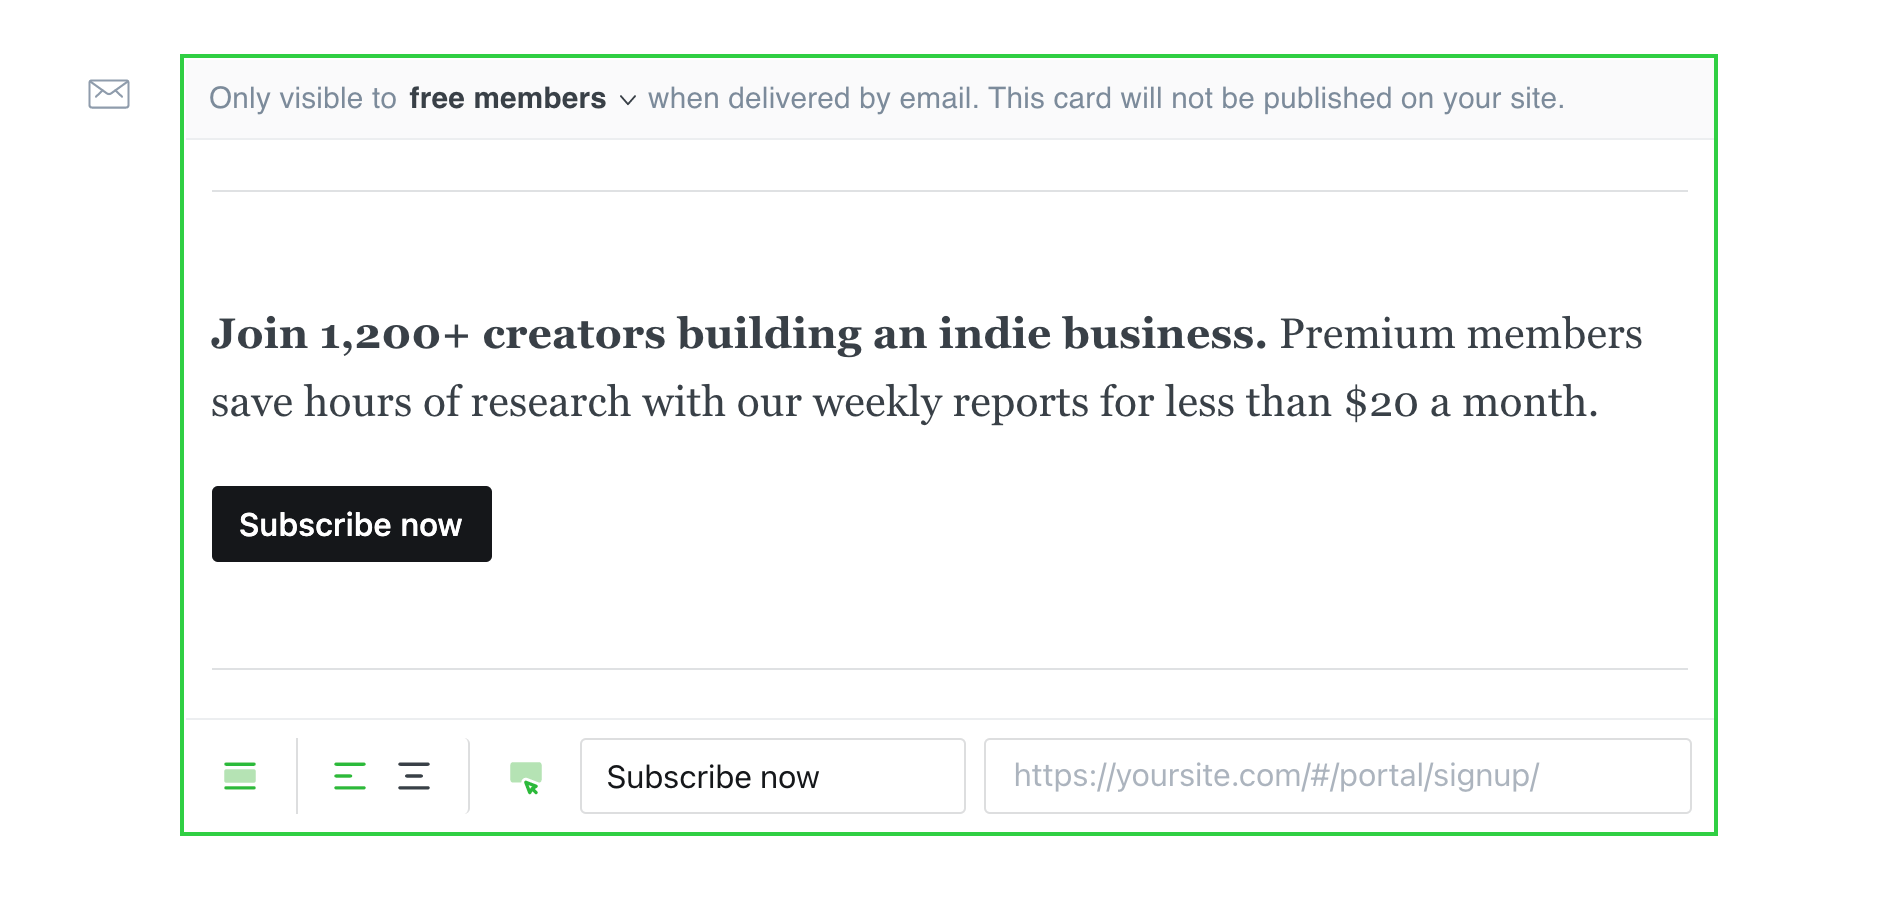
Use these cards to promote a specific call to action to either free or paid members. Email call to action cards can include dividers, center or left alignment, formatted text, and a button. The button can be linked directly to your Portal signup page, or any other URL.
Snippets
Snippets allow any staff user to re-use content and cards across posts and pages.
To save a snippet, highlight the content you'd like to transform into a template, then click the snippet icon in the toolbar to save your selection with a name.
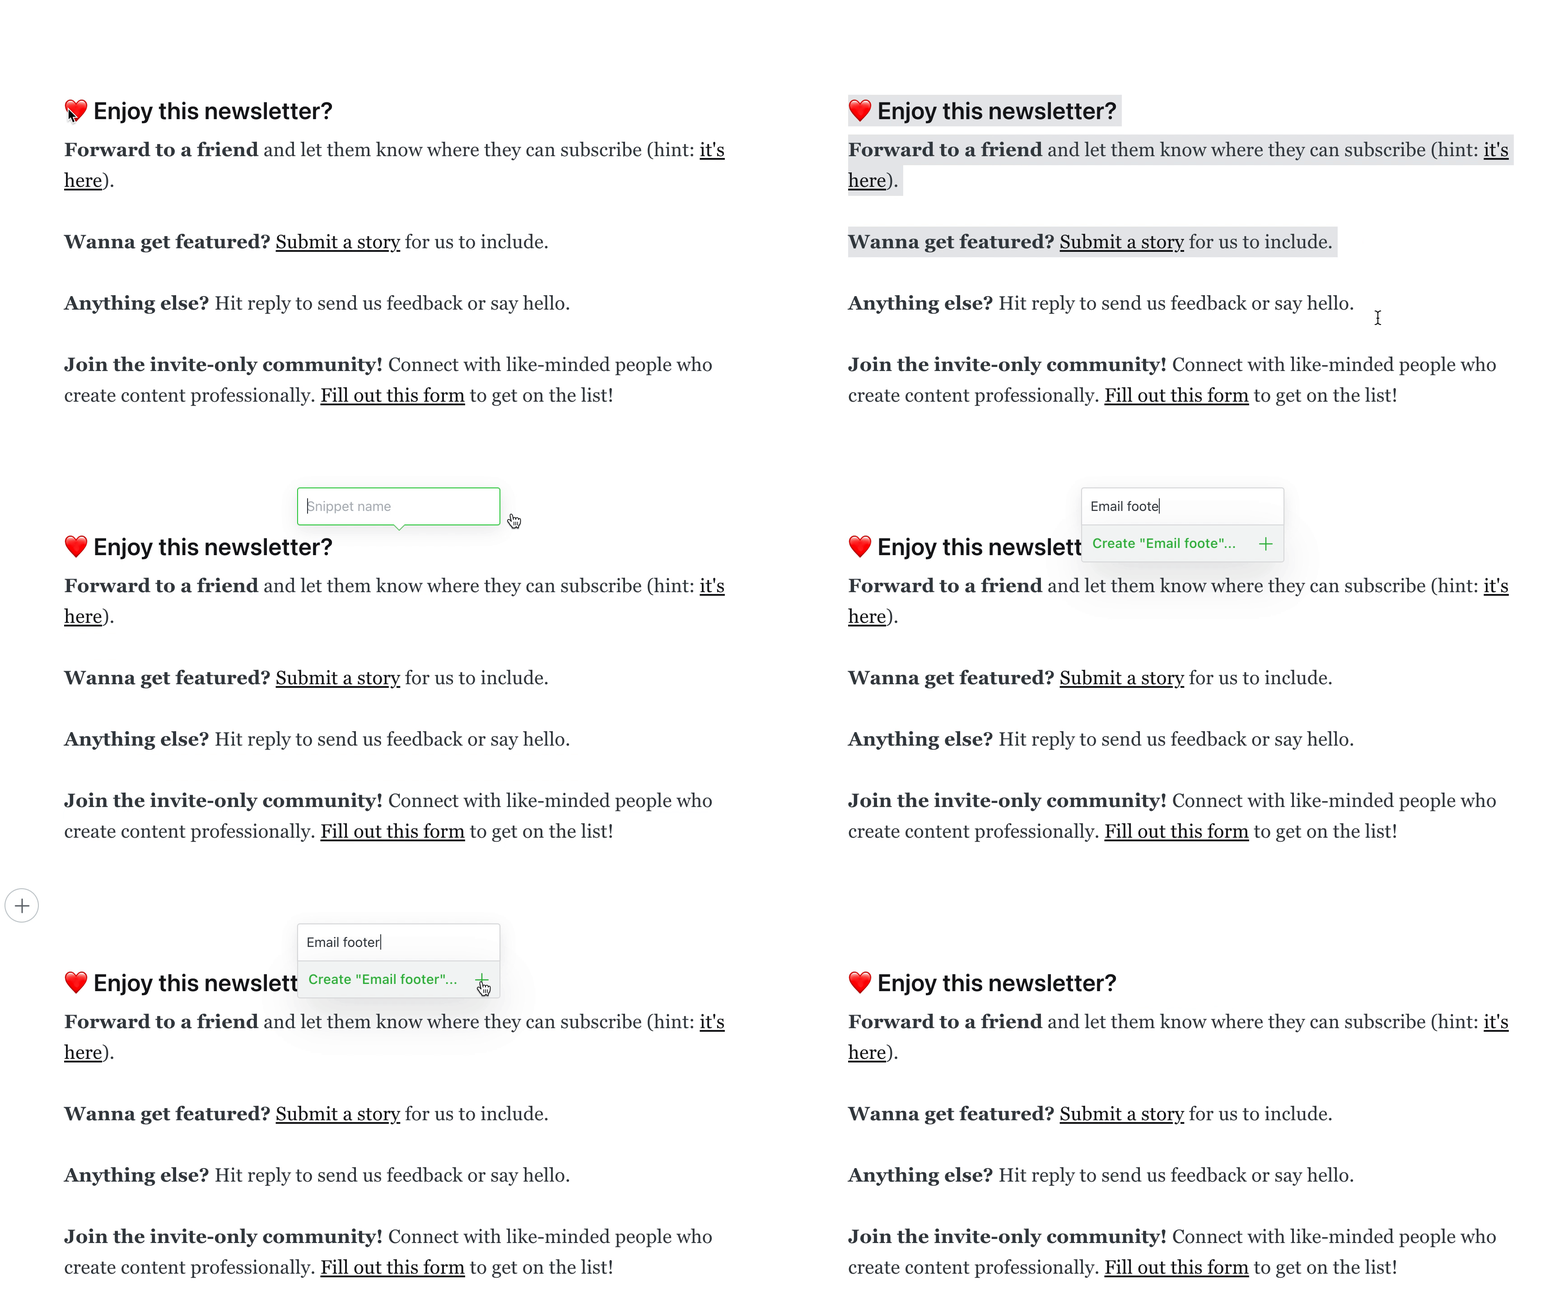
To insert a snippet int a new post, use the dynamic menu to select your snippet or type /{snippet title} into a new line of the editor.
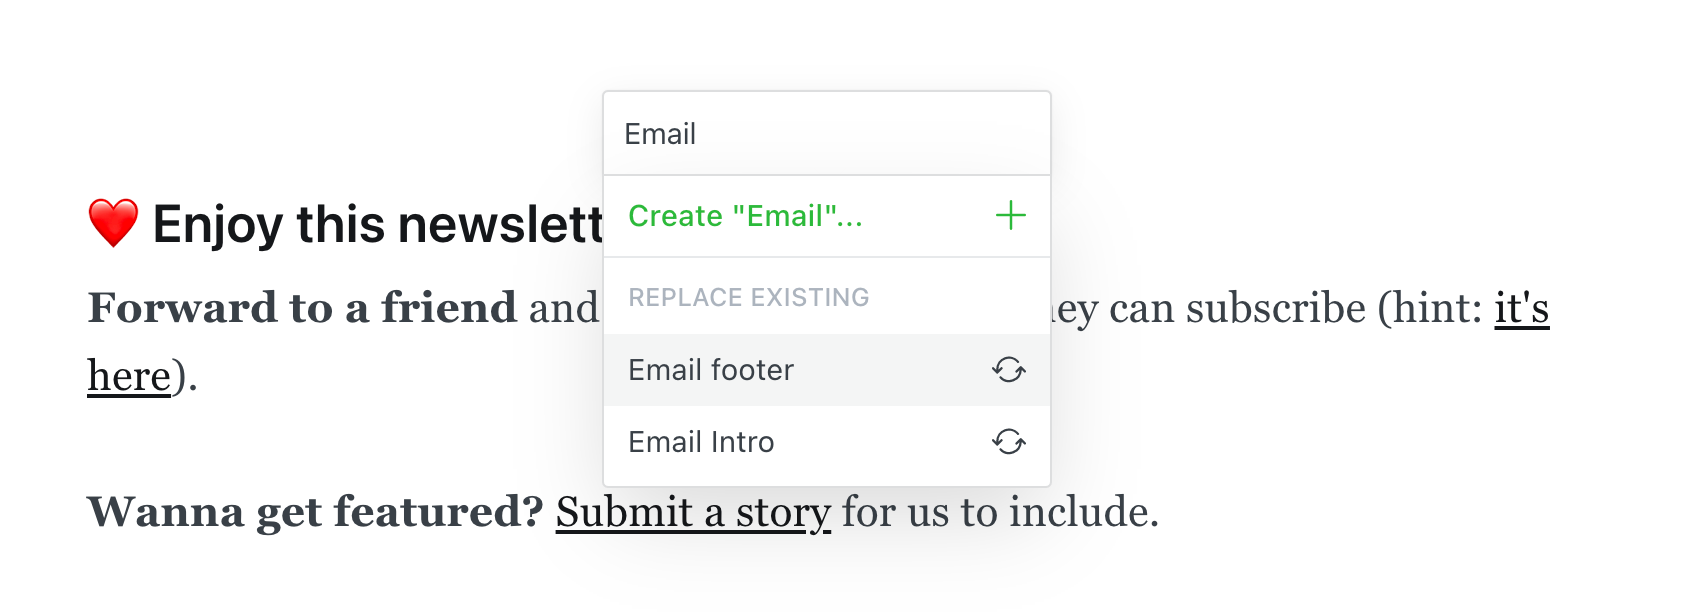
To edit a snippet, start typing the name of the snippet you're updating and click the snippet under Replace existing:
Using Markdown
We know that many Ghost users love writing with Markdown - so the editor will automatically parse any Markdown typed directly. Alternatively, insert a Markdown card to access all of the same features of previous versions of the Ghost editor inside a single card 😎
Markdown reference
| Result | Markdown | Shortcut |
|---|---|---|
| Bold | **text** / __text__ | Ctrl/⌘ + B |
| Emphasize | *text* | Ctrl/⌘ + I |
| ~~text~~ | Ctrl + Alt + U | |
| Testtext | ^supertext^ | |
| Textsubtext | ~subtext~ | |
| Link | [title](https://) | Ctrl/⌘ + K |
Inline Code |
`code` | Ctrl/⌘ + Shift + K |
| Image |  | Ctrl/⌘ + Shift + I |
| List | * item | Ctrl + L |
| Ordered List | 1. item | Ctrl/⌘ + Alt + L |
| Blockquote | > quote | Ctrl + Q |
| Highlight |
==Highlight== | |
| H1 | # Heading | |
| H2 | ## Heading | Ctrl/⌘ + H |
| H3 | ### Heading | Ctrl/⌘ + H (x2) |
Read more about the benefits of using Markdown.
Uploading images
You can add images to your posts in many ways:
- Upload from your computer
- Click and drag an image into the browser
- Paste directly into the editor from your clipboard
- Insert using a URL
Once inserted you can blend images beautifully into your content at different sizes and add captions and alt tags. They can also be re-ordered easily using drag and drop (this applies to all dynamic cards in the editor).
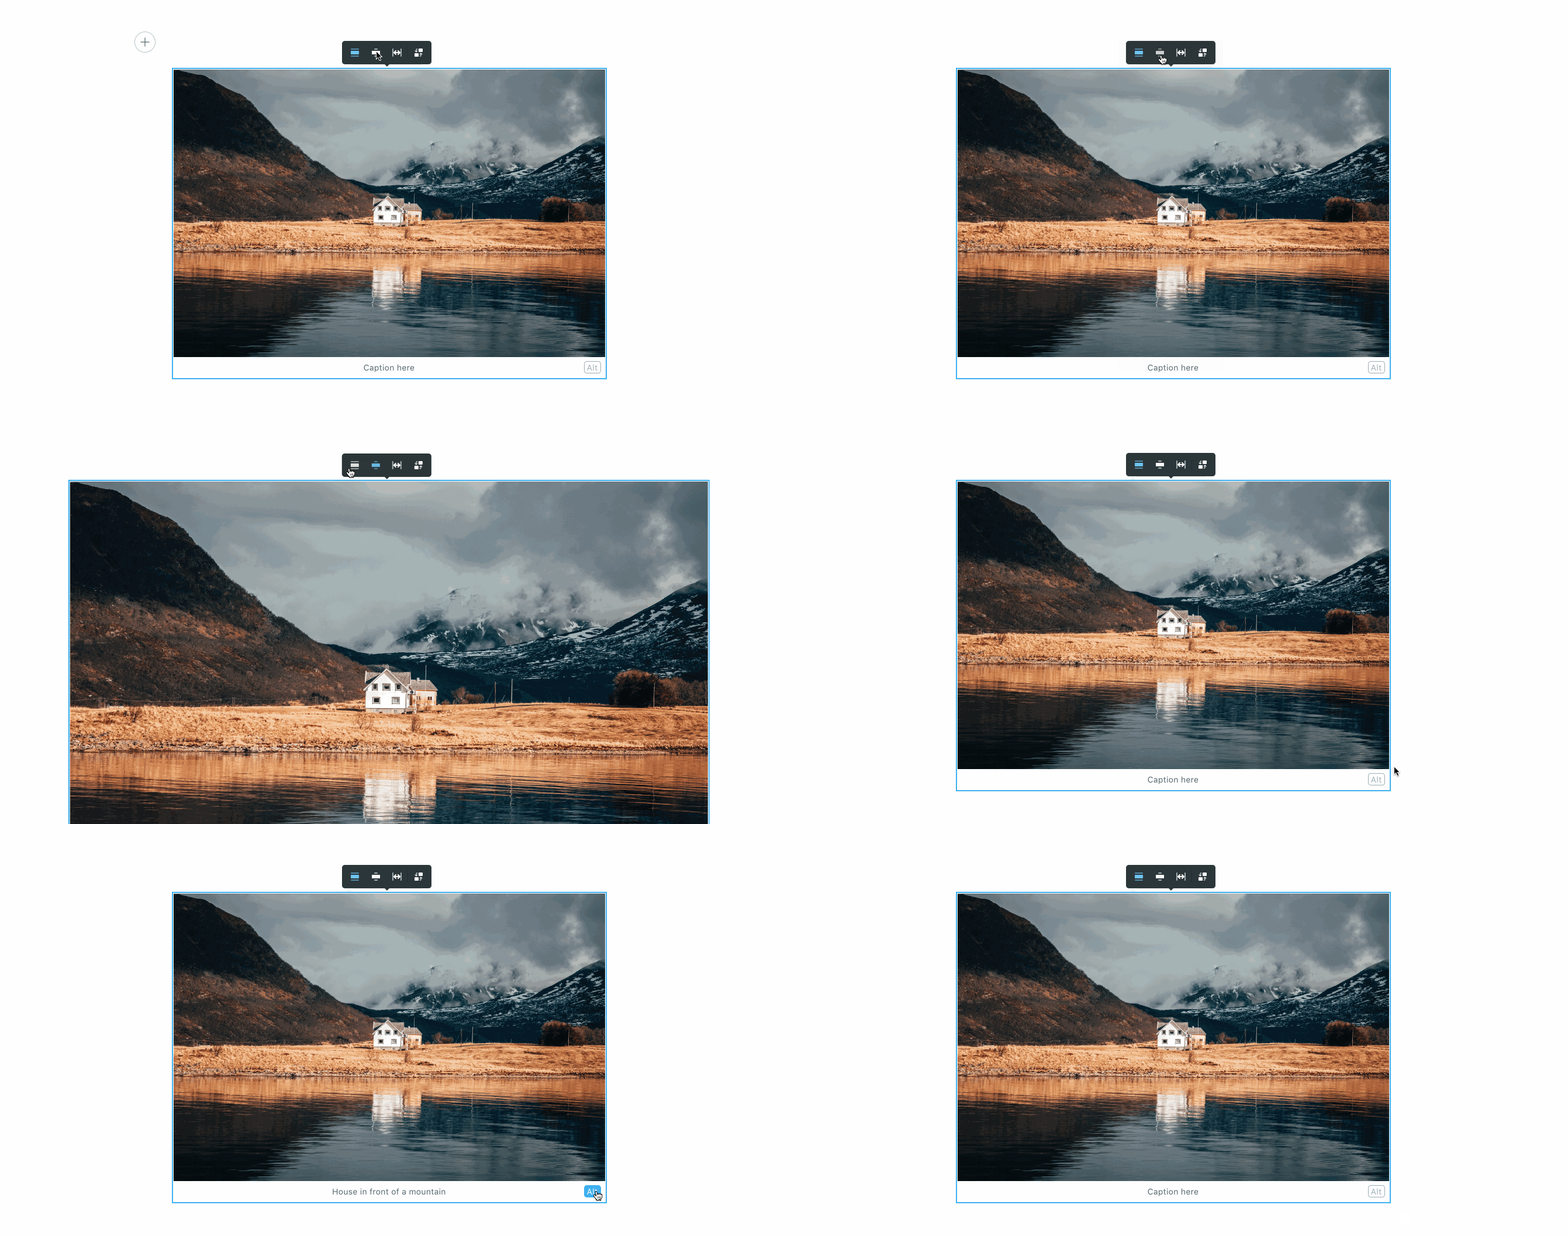
Uploaded images will be automatically optimized for the web with lossless compression, as well as make the image responsive which automatically adjusts the image size based on the viewer's device. Supported image formats include JPEG, PNG, GIF, and WebP.
Using image galleries
Ghost supports image galleries for up to 9 images at a time, all of which are responsively optimized and organized to look their best no matter how many images you add or remove.
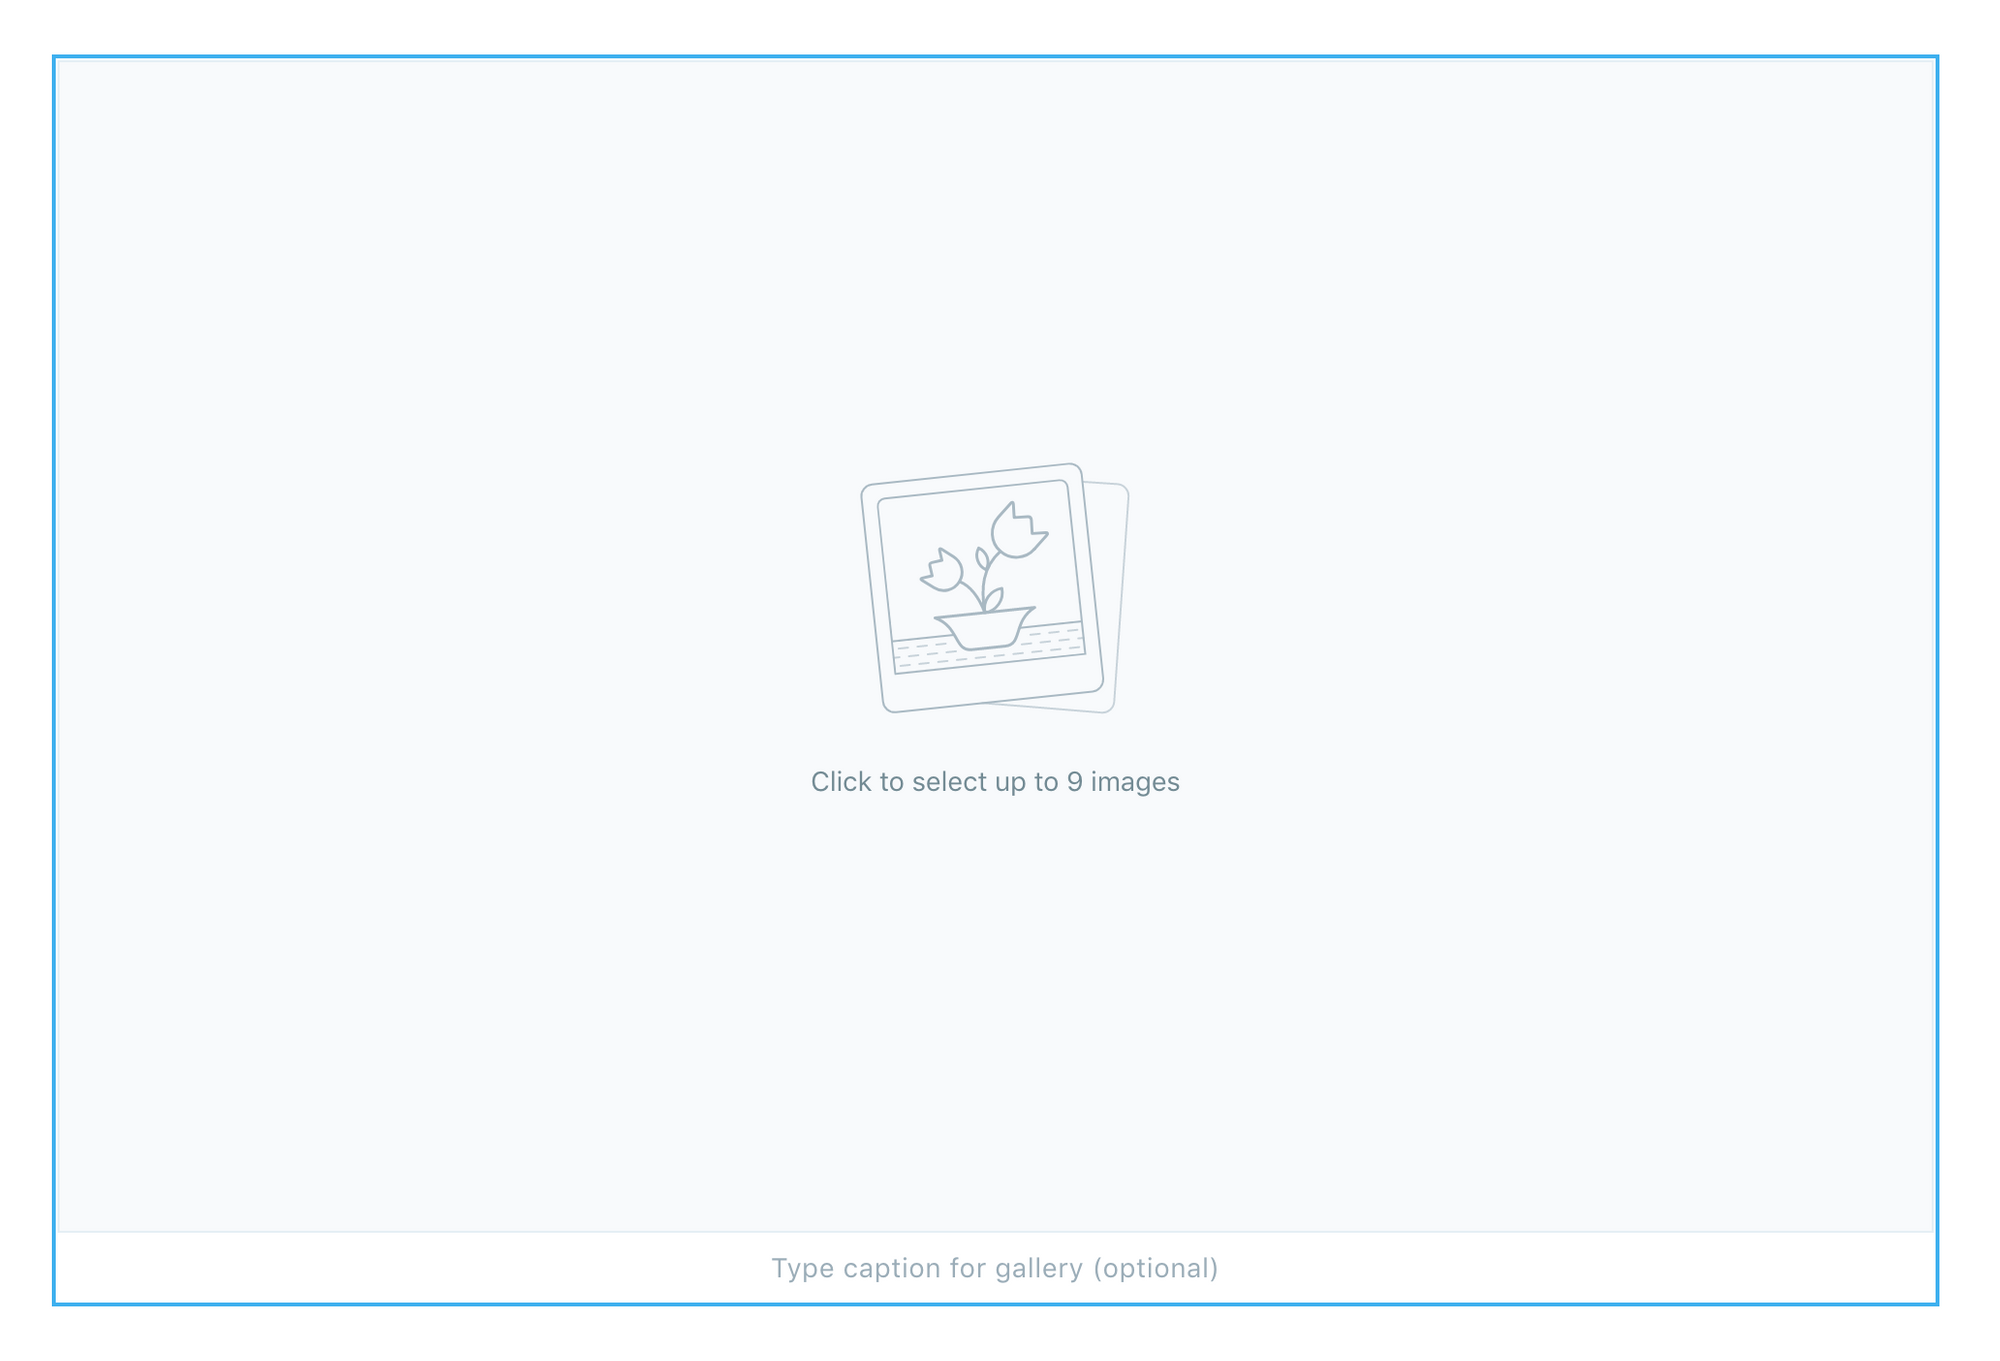
Galleries can be inserted by using the gallery card from the dynamic menu. To add images to the gallery card, drag each image into the image uploader box or select multiple images from your file system. Once uploaded, images can be re-ordered using drag and drop.
Adding custom HTML
Add custom forms, buttons, or other content to your post by pasting your embed code into a new HTML card.
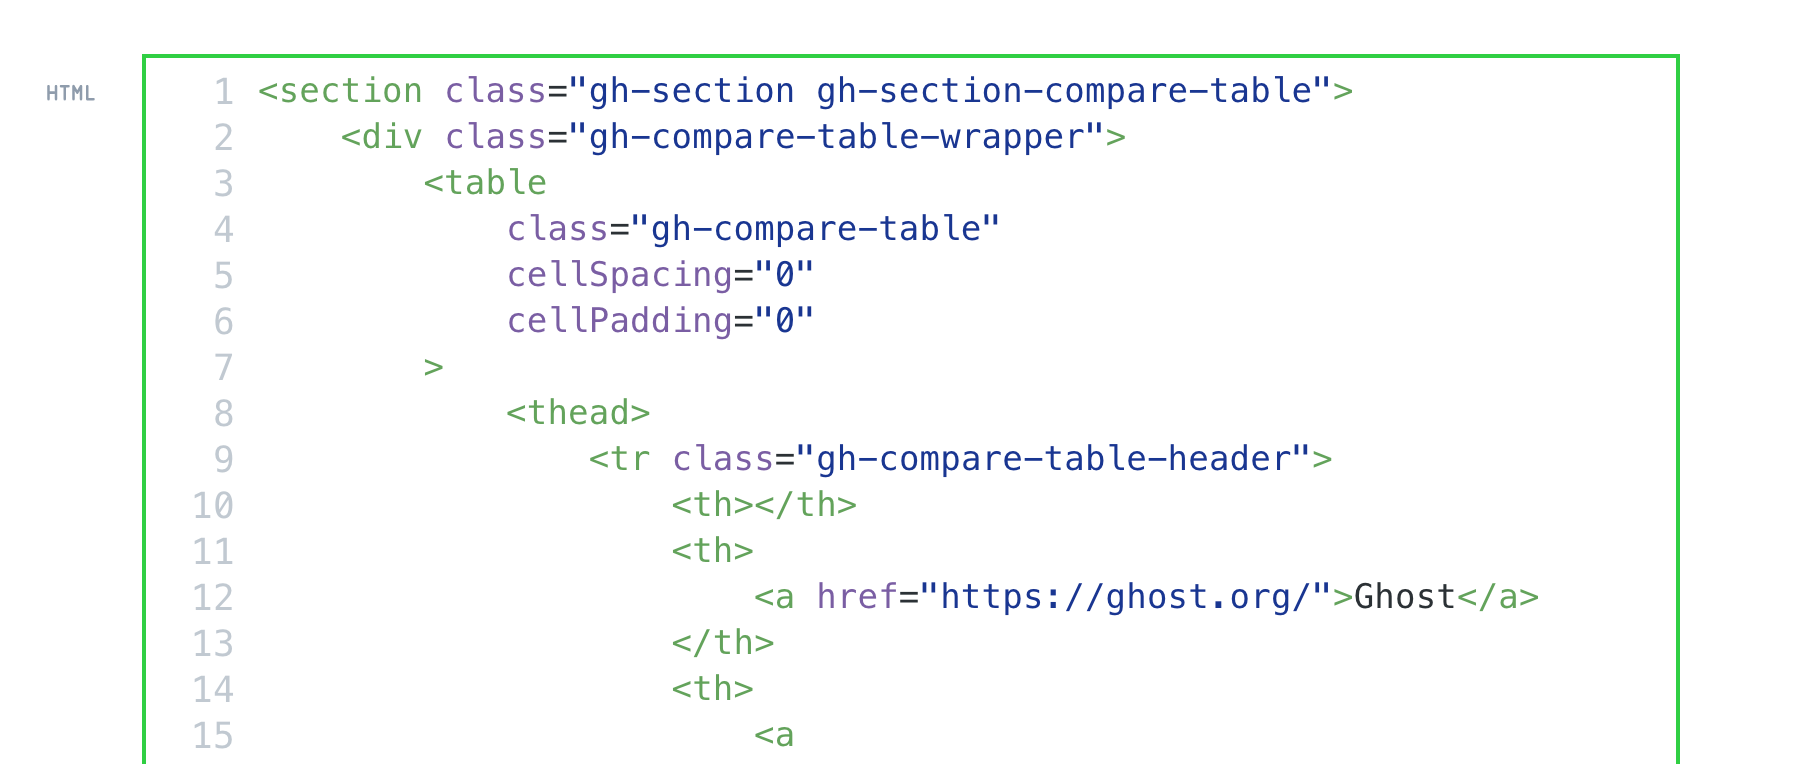
We have a library of hundreds of integrations with your favorite tools and apps, many of which take a minute of your time to implement.
Using code injection
If you need to add any other custom scripts or embeds to your post, this can be done using code injection from the post settings menu.
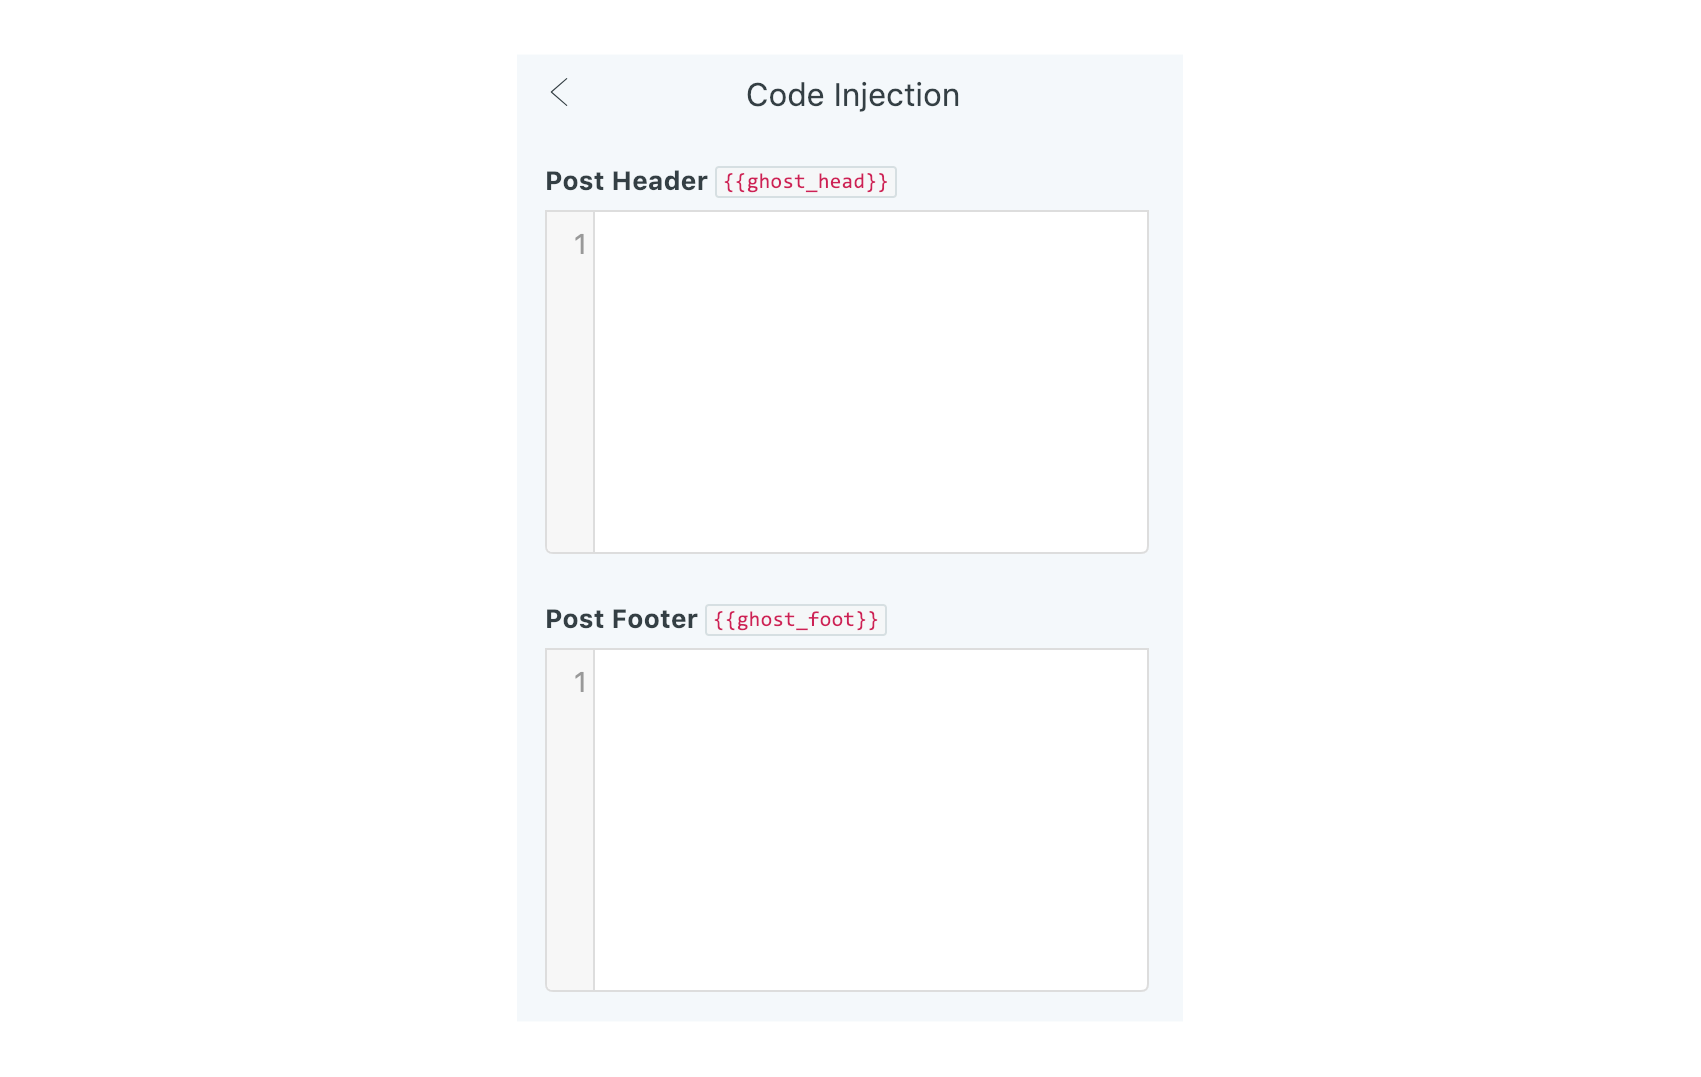
If you need to add custom code to your entire site, this can be done from the code injections settings found in the Ghost Admin sidebar.
Publishing content
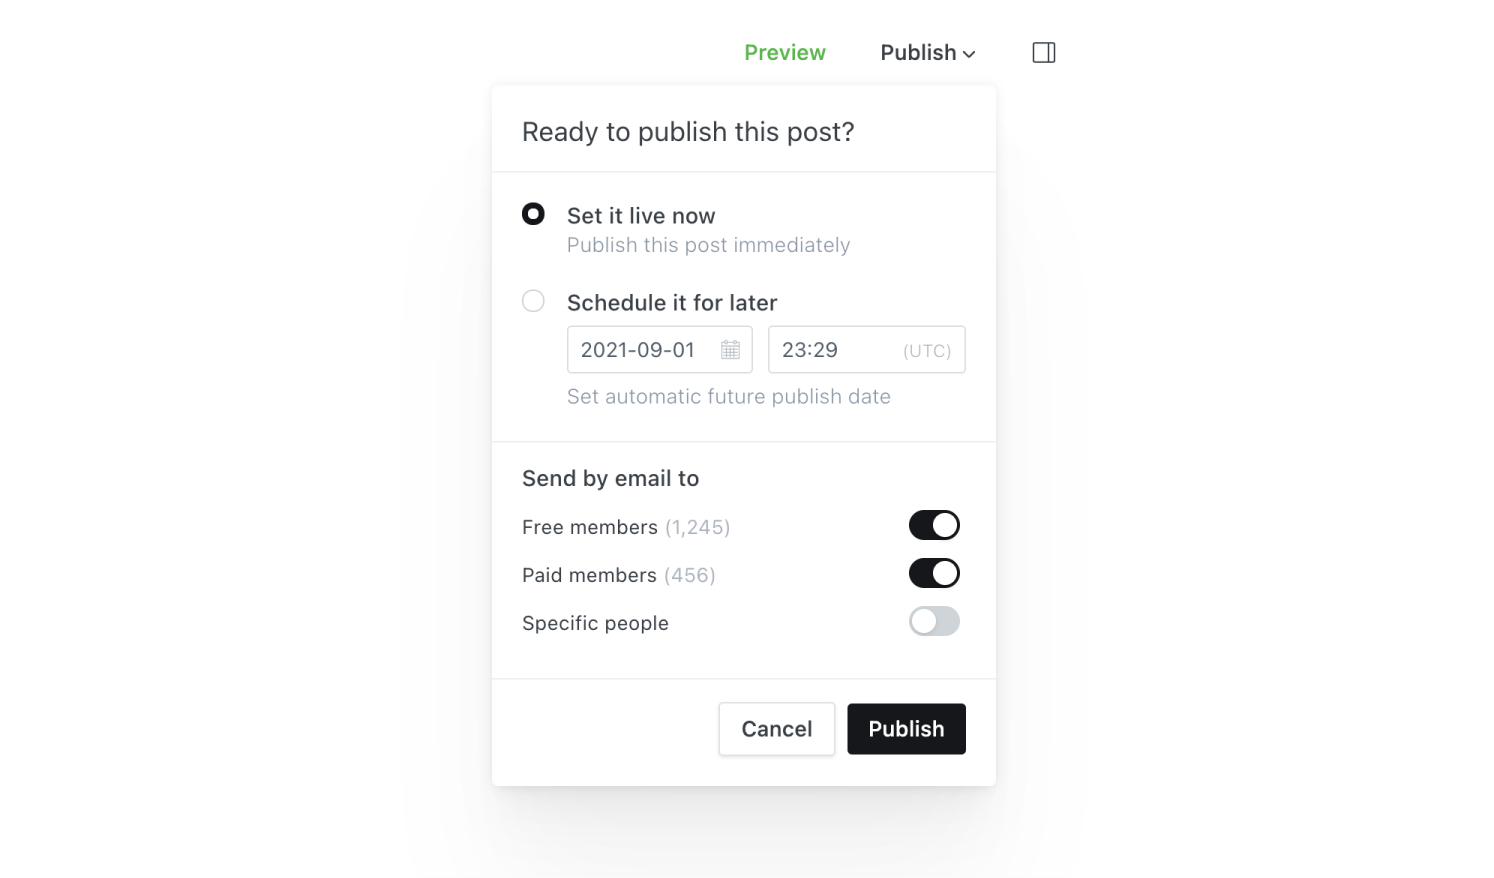
Publishing or scheduling your content can be accessed from the top left menu in the editor.
Previewing a post
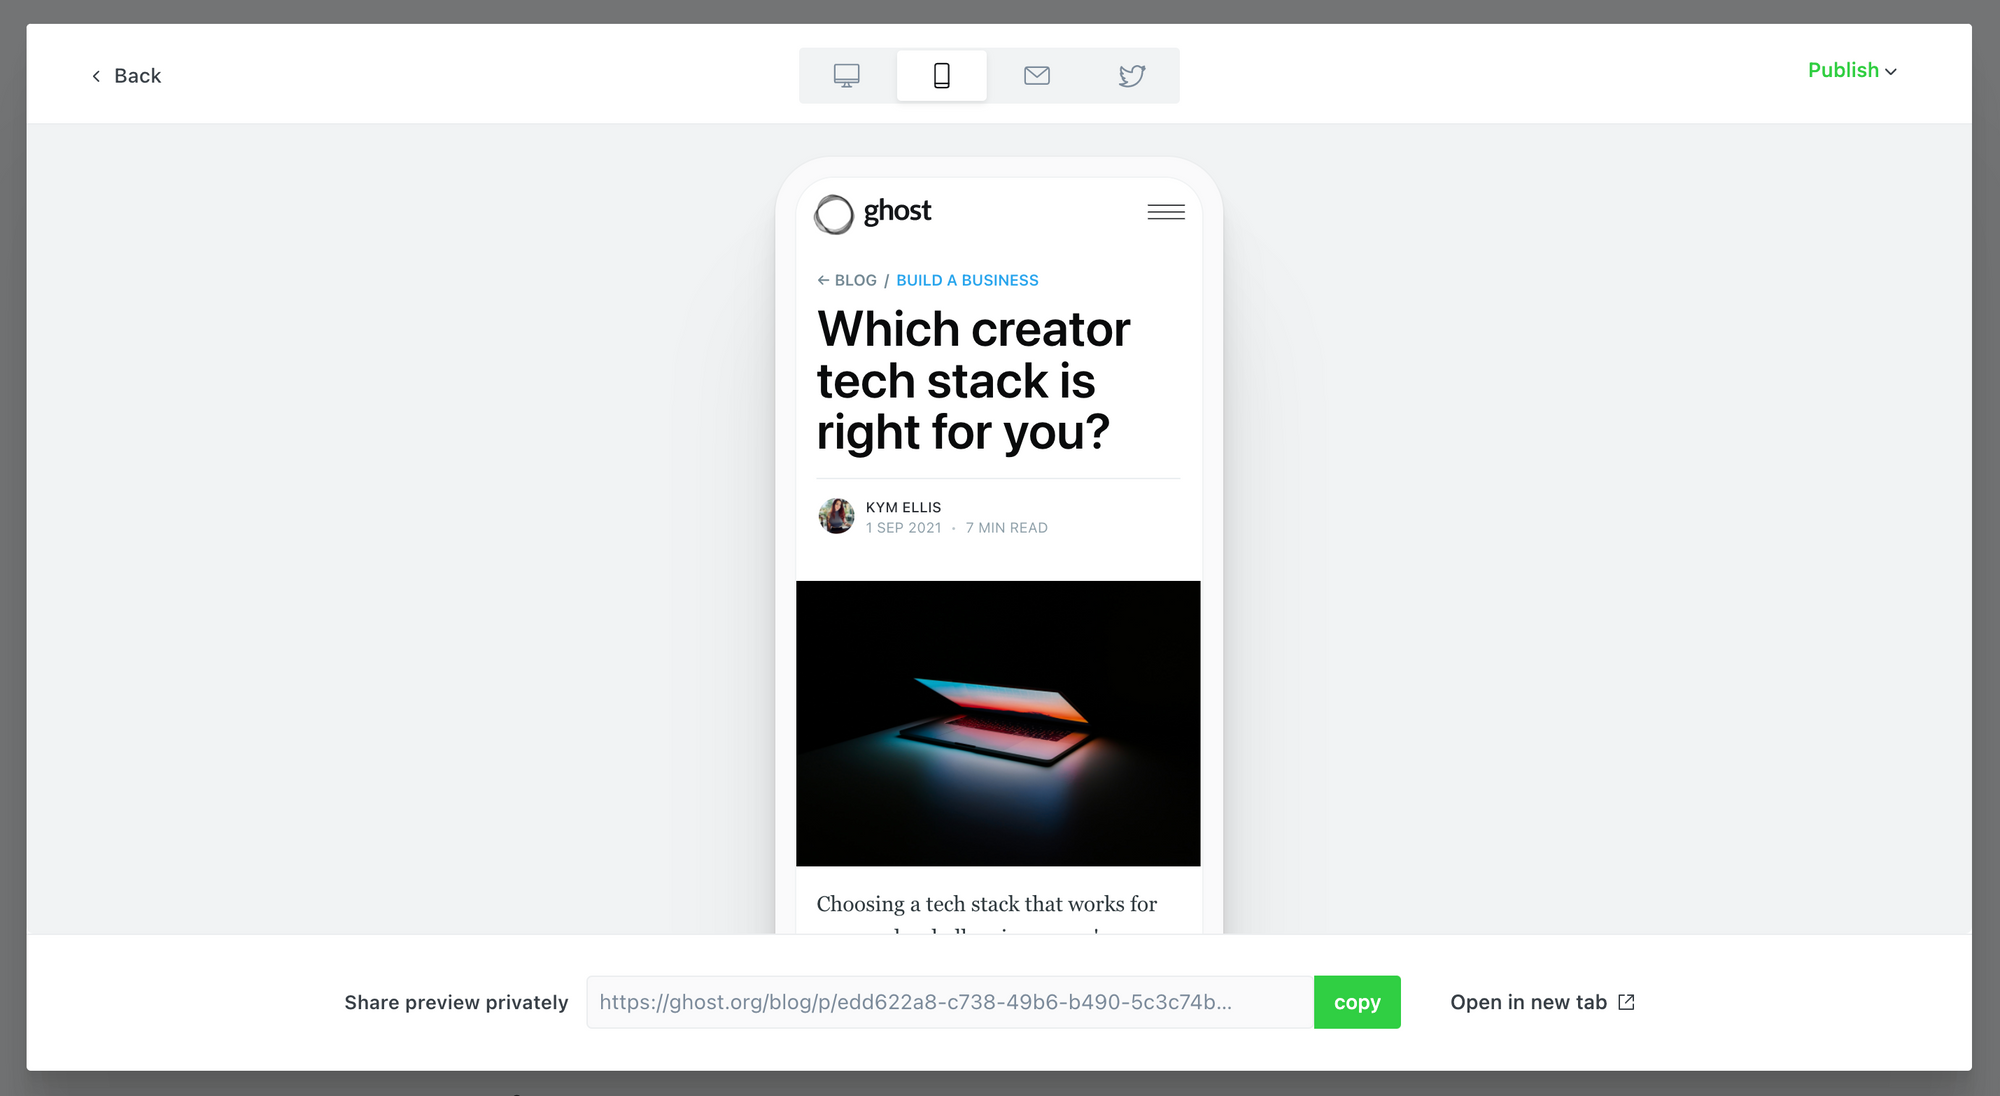
Posts can be previewed within the Ghost Editor by clicking the "Preview" link in the top right corner. The preview function shows you a live preview of how your post will be displayed on your Ghost site for desktop and mobile devices, as well as in standalone email newsletter, and on social media (Facebook, Twitter) and search engines (Google).
Posts previews also generate a unique shareable URL to allow others to view your post preview.
Publishing a post
To publish a post, click on the “Publish” link located in the top right corner of the editor then click “Publish” to set the post live. It's possible to change the status of a published post to draft in the same way.
Deleting a post
To delete a post, click on the post title from the content list within Ghost Admin. With the Ghost Editor open, expand the post settings menu using the gear icon and click, “Delete Post.” Once a post has been deleted, it cannot be recovered.
Quickly switch to editing any post or page by adding /edit to the end of the post or page URL.Scheduling a post
To schedule your post to publish on a future date, select “Schedule it for later” from the publish menu and select a date and time.
In addition to the standard publishing options, the post settings menu allows you to optimize your content further, by setting tags, assigning authors, and customizing metadata and social sharing details – see the full list of publishing options.